Crate wikia space useful laying confusing locator jump zero path area very Dead space schematics locations chapter Electrical engineering: dead space 3 electrical engineering interface
Dead Space™ Ignition
Loren gilliland Dead space 2 contact energy schematic chapter 11 Biomedical ieee
Dead space™ ignition
Chapter 6: environmental hazard/walkthrough/version 2Ignition trueachievements Dead space 2 power nodes and schematics locations part 2 hdDs3 gilliland loren.
Dead space wikiaDead space power nodes Dead spaceWalkthrough hazard environmental chapter version wikia elevator schematic crate startled ride supply energy then don contact find when.

Dead space schematics locations pack health exit floating gravity middle drive ll around side need other just
Schematics locationsDead space 2 schematics guide Schematics locationsChapter 7: power from the sun.
Chapter 6: environmental hazard/walkthrough/version 2 .


Dead Space™ Ignition
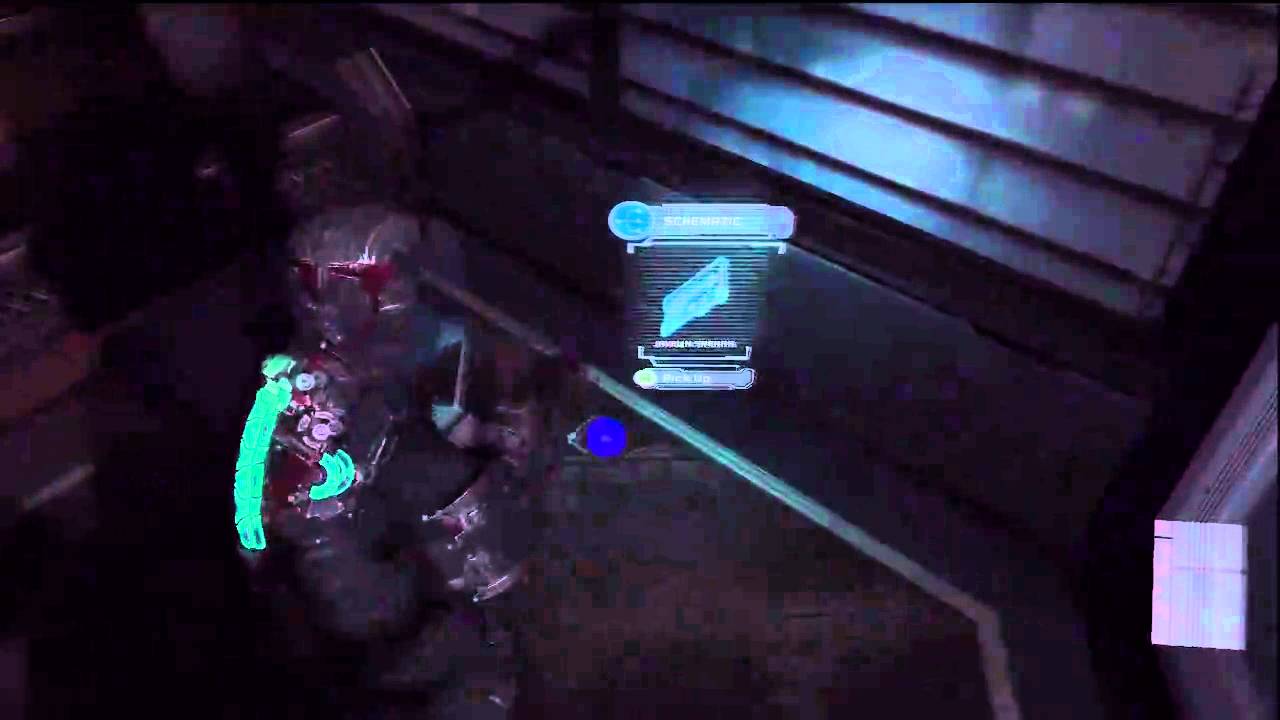
Dead Space 2 Power Nodes and Schematics Locations Part 2 HD - YouTube

Schematics Locations - Dead Space 2 Guide and Walkthrough

Electrical Engineering: Dead Space 3 Electrical Engineering Interface

Chapter 6: Environmental Hazard/Walkthrough/Version 2 | Dead Space Wiki

Schematics Locations - Dead Space 2 Guide and Walkthrough

Loren Gilliland - Dead Space 3 Guide Layout and Map Design

Chapter 7: Power from the Sun | Dead Space Wiki | FANDOM powered by Wikia

Dead Space 2 Contact Energy Schematic Chapter 11 - YouTube
